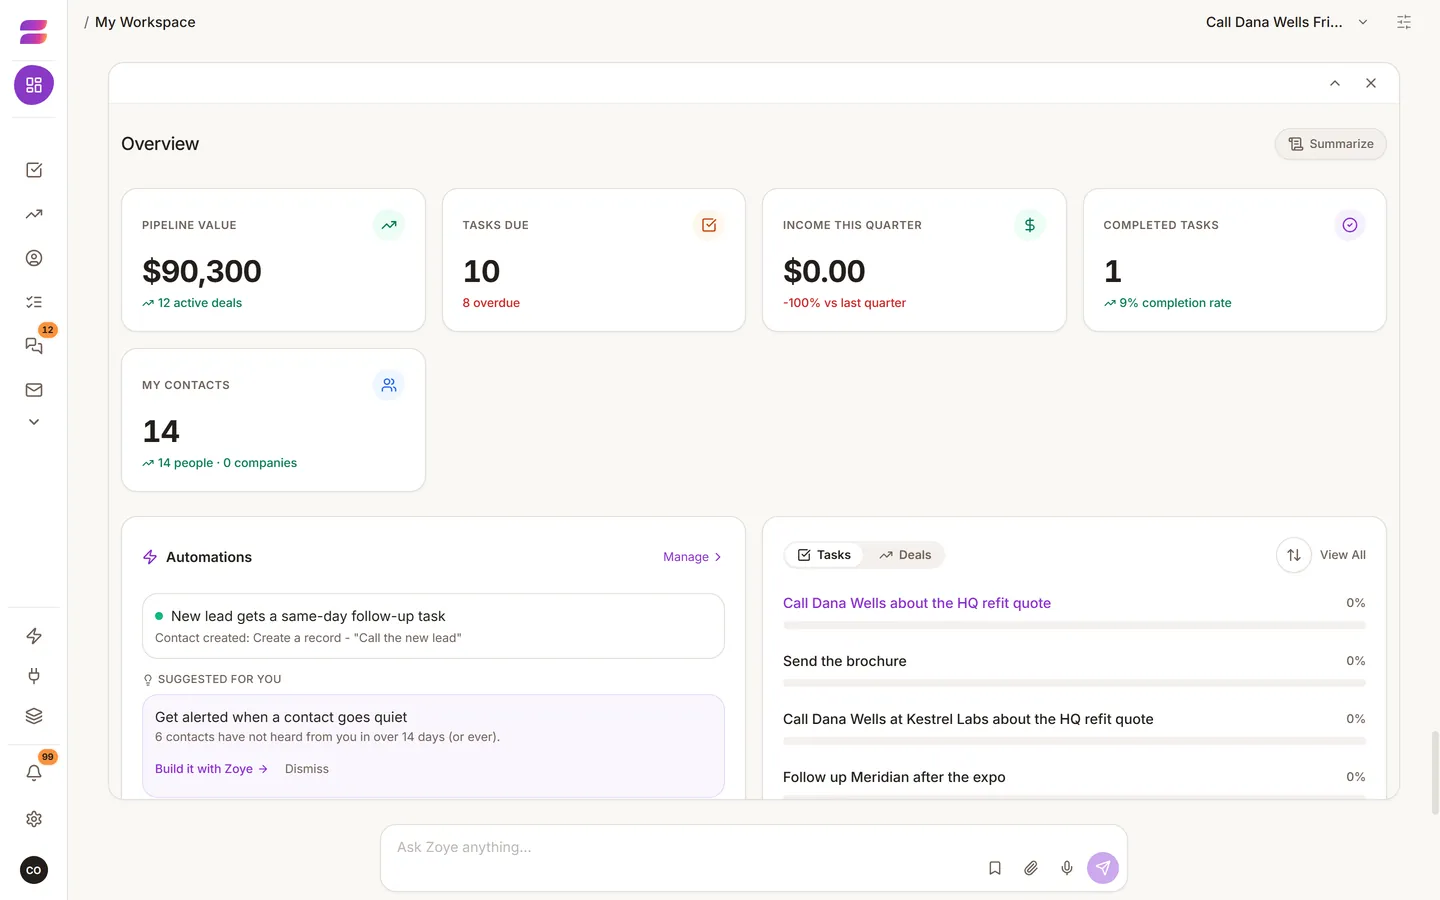
You can go from an empty account to a workspace with your real contacts in it in about fifteen minutes. Do this once, properly, and everything else has something to work with.
Create your account
Go to app.zoye.io and register with your work email. Confirm the email, then sign in. You can start on the smallest plan. To compare plans, see pricing.
Take the guided tour
The app has a short tour of the main screens. It is the fastest way to find your feet. To start it again later, tap the compass button at the bottom of the left sidebar, or ask the assistant to start the tour.
Organisation and workspace
These are two levels, and it helps to know the difference.
- Organisation: your business. Billing, your team and all your records belong to it.
- Workspace: a part of the business, such as a branch, a brand or a client. Each record lives in exactly one workspace, and permissions are set per workspace.
Most small businesses need only one workspace. Add a second only when two parts of the business should not see each other's records. The workspace switcher is in the left sidebar, under Connectors.
Find your way around
The left sidebar holds the main pages: Overview, Contacts, Deals, Tasks, Calendar, Docs, Budget, Meetings, Team, Reports and Archive. Pages you do not use can be hidden with Change tools in the profile menu (your photo at the bottom of the sidebar). Only owners and admins see it. Anything you hide is hidden from the assistant too.
On a phone, the same things are under More.